Introduction
Facing issues with your laptop camera not working or showing signs of malfunction? Whether you are facing the issues that your laptop camera not working, or laptop camera not turning on, it can be a frustrating experience for you. In this digital world, a functional camera on your laptop is necessary for online meetings, video calls, and staying connected with your loved ones.
From basic hardware checks to diving into software settings, this article covers various methods to resolve issues such as ‘laptop camera not showing up as connected’, ‘laptop camera disabled’, or ‘laptop camera not working in Windows 10’. So, let’s delve into the trouble-shooting process and learn how to fix your laptop camera issues efficiently.
Allow Camera Access from Webcam’s Settings
When dealing with a ‘laptop camera not working’ scenario or encountering issues like ‘camera not showing up as connected’ or ‘laptop camera disabled’, adjusting camera permissions within your device’s settings can often resolve the problem.

Here are steps you can follow to allow camera access on your laptop:
- Accessing Camera Permissions:
- For Windows users: Go to ‘Settings’ > ‘Privacy’ > ‘Camera’. Make sure that the ‘Allow apps to access your camera’ option is on. You can also individually grant camera access to specific apps from the list below.
- For Mac users: Go to ‘System Preferences’ > ‘Security & Privacy’ > ‘Privacy’ > ‘Camera’. Check the box next to the applications that need camera access.
- Checking Application Permissions:
- Within individual apps like Zoom, Skype, or any video conferencing tool, explore their settings. Look for ‘Camera’ or ‘Video’ settings and make sure the camera access permission is granted to the respective application.
By adjusting these settings, you can troubleshoot issues related to ‘laptop camera will not turn on’, ‘camera not working in Windows 10 laptop’, or ‘my camera is not working on my laptop’ scenarios caused by restricted access permissions.
Update the Laptop Camera Driver

When encountering issues such as ‘laptop camera not working’ or ‘camera on laptop not working’, outdated or corrupted camera drivers might be the culprit. Updating your laptop’s camera driver can often resolve these issues effectively.
Follow these steps to update your laptop’s camera driver:
- Accessing Device Manager (for Windows):
- Press the ‘Windows Key + X’ and select ‘Device Manager’ from the menu of your computer.
- Locate and expand the ‘Imaging devices’ or ‘Cameras’ section of your laptop.
- Right-click on the camera device listed and select ‘Update driver’.
- Finding the Latest Driver:
- Choose the option to search automatically for updated driver software. This prompts Windows to search online for the latest driver updates for your camera.
- If a new driver is found, follow the on-screen instructions to update it.
- Updating Drivers on Mac:
- For Mac users, accessing ‘System Preferences’ > ‘Software Update’ might offer driver updates. Check for any camera driver updates available there.
Updating your laptop’s camera driver can fix issues like ‘my camera wont work on my laptop’, ‘built-in webcam on laptop wont turn on’, or ‘camera not working in Windows 10 laptop’ caused by outdated or malfunctioning drivers.
Reinstall the Laptop Camera
In scenarios where ‘laptop camera not working’ persists despite trying other troubleshooting methods, reinstalling the camera drivers might resolve the issue. This process involves removing the camera drivers and letting the system reinstall them afresh.

Follow these steps to reinstall the laptop camera:
- Accessing Device Manager (for Windows):
- Press the ‘Windows Key + X’ and select ‘Device Manager’ from the menu of your laptop.
- Locate and expand the ‘Imaging devices’ or ‘Cameras’ section of your laptop.
- Right-click on the camera device listed and select ‘Uninstall device’.
- Confirming Uninstallation:
- A confirmation dialog might appear. Check the box that says ‘Delete the driver software for this device’ and click ‘Uninstall’.
- Reboot Your Laptop:
- Restart your laptop to complete the uninstallation process.
- Automatic Reinstallation:
- Upon restarting, your system might automatically detect the camera and reinstall the necessary drivers. If not, revisit ‘Device Manager’, and under ‘Action’, select ‘Scan for hardware changes’.
Reinstalling the laptop camera drivers can often resolve persistent issues like ‘camera not showing up as connected’, ‘laptop camera disabled’, or ‘my laptop says camera not connected’ by refreshing the driver installation.
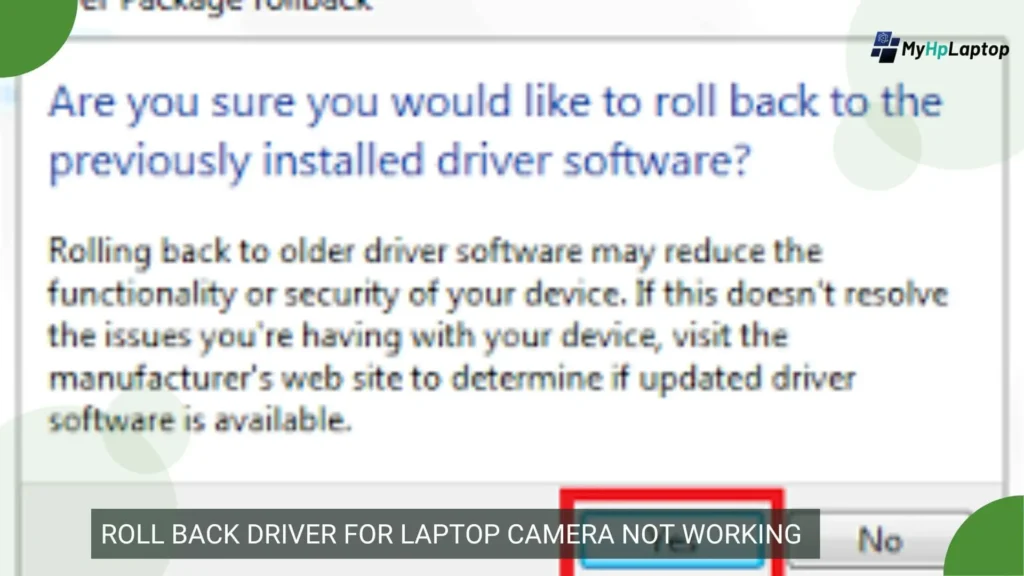
Roll Back Driver for Laptop Camera Not Working
In situations where updating drivers doesn’t resolve the ‘laptop camera not working’ issue and it began occurring after a recent update, rolling back the driver might help. This process involves reverting to the previous driver version.
These are following steps to roll back the camera driver:
- Accessing Device Manager (for Windows):
- Press the ‘Windows Key + X’ and select ‘Device Manager’ from the menu.
- Locate and expand the ‘Imaging devices’ or ‘Cameras’ section.
- Right-click on the camera device listed and select ‘Properties’.
- Rolling Back the Driver:
- In the ‘Properties’ window, go to the ‘Driver’ tab.
- If available, the ‘Roll Back Driver’ option will be clickable. Click on it to initiate the rollback process.
- Follow On-Screen Instructions:
- Follow any on-screen prompts that might appear to confirm and complete the rollback process.
Rolling back the camera driver can be a useful troubleshooting step for issues like ‘camera not working in Windows 10 laptop’ or ‘laptop camera will not turn on’ that might have emerged after a recent driver update, allowing you to revert to a previously functional version.
Check Your Antivirus Software for Laptop Camera not Working Issues
Sometimes, antivirus software can interfere with the functionality of your laptop camera, Solving to issues like ‘laptop camera not working’ or ‘camera not showing up as connected’.

Here is how to troubleshoot these issues:
- Access Antivirus Settings:
- Open your antivirus software interface by locating its icon in the system tray or searching for the application on your laptop.
- Look for settings related to ‘Privacy’, ‘Device Access’, or ‘Camera’.
- Review Camera Permissions:
- Ensure that your antivirus software hasn’t blocked camera access for all applications or specific ones.
- Look for any settings that might disable the camera or restrict its usage.
- Temporary Disabling:
- As a troubleshooting step, consider temporarily disabling the antivirus software (if possible) to check if it’s causing the camera malfunction.
- Remember to re-enable the antivirus software after testing to ensure continued protection.
Checking and adjusting your antivirus software’s settings can potentially resolve issues like ‘my camera is not working on my laptop’ or ‘laptop says camera not connected’ caused by overzealous security settings blocking camera access.
Also Read: HP Laptop Docking Station: A Comprehensive Guide
Additional Tips and Final Thoughts
| Steps to Resolve | Recommendations |
|---|---|
| Restart Your Laptop | – A simple restart can often resolve minor technical glitches related to ‘laptop camera not working’ or ‘camera in Windows 10 not working’. |
| Contact Support if Needed | – If the issue persists after trying the troubleshooting steps, consider reaching out to the laptop manufacturer’s support or a professional technician for assistance with ‘laptop camera disabled’ or ‘my laptop says camera not connected’ issues. |
| Regular Updates and Maintenance | – Ensure your laptop’s operating system, drivers, and applications are regularly updated. Regular maintenance can prevent future camera-related issues. |
FAQs
Why is my laptop camera not working?
Several factors can contribute to a non-functional laptop camera, including outdated drivers, software conflicts, permissions, or physical obstructions. The issue might also stem from antivirus software or hardware problems.
How do I fix my laptop camera if it’s not showing up as connected?
Start by checking physical connections, ensuring the camera isn’t blocked physically. Then, delve into software settings to enable the camera and grant necessary permissions to applications. Updating drivers or troubleshooting antivirus settings might also help.
What should I do if laptop camera is disabled?
Access the device manager to check if the camera is disabled. Enable it if necessary. Review antivirus software settings to ensure camera access isn’t blocked. Additionally, update drivers and check system settings for permissions related to camera usage.
Can outdated drivers cause my laptop camera to malfunction?
Yes, outdated or corrupted drivers can often lead to camera malfunctions. Updating drivers through the device manager or system preferences can resolve many camera-related issues.
I’ve tried to troubleshooting, but my laptop camera not working. What should I do next?
If the troubleshooting steps have not resolved the issue, consider reaching out to the laptop manufacturer’s support for guidance. Professional technicians can diagnose hardware problems or offer advanced software solutions for persistent camera issues.
Conclusion
In a digitally connected world, a malfunctioning laptop camera can disrupt communication and daily tasks. This article aimed to address common issues like ‘laptop camera not working’ or ‘camera not showing up as connected’ through practical troubleshooting.
From checking physical connections to adjusting software settings and updating drivers, the guide outlined step-by-step solutions. Exploring permissions, considering antivirus settings, and even rolling back drivers were suggested as potential fixes.
Remember, a simple restart often resolves minor glitches. If issues persist, seeking manufacturer support or professional assistance is advisable. Regular updates and maintenance can prevent future camera-related problems, ensuring a smoother experience.
By following these straightforward troubleshooting steps, users can effectively resolve ‘laptop camera disabled’ or ‘my laptop says camera not connected’ issues, ensuring their laptop cameras function optimally for various tasks and communications.